Good news! The barrier to start making your own music is lower than it ever has been. You do not need the services of an expensive studio to get started. Computers are affordable and music production software is abundant with lots of free options.
Whether you are an aspiring songwriter, beatmaker, rapper, hip hop producer or even want to become a composer of stock music (like me) you can get started relatively easily. I wish there had been these opportunities when I was starting out.
This article explores all of the aspects you need to get started and should save you hours of research.
1. PC Computer, Laptop or Mac
There is no question, this will cost you. There will be financial investment involved, but the good news is that it is relatively affordable and your biggest initial cost will be the computer or laptop.
You will need enough computing power to run a DAW (Digital Audio Workstation) and associated plugins. Generally, a desktop PC provides more power than a laptop at the same budget, but you need desk space for a PC and it isn’t as mobile as a laptop.
You need the highest spec computer that your budget will allow. The more RAM and CPU capacity it has, the greater the number of plugins and audio channels you can run, record and process. That said, if you are new to this and trying it out, just get started with what you can afford and upgrade when you can.
I have not mentioned Apple Mac because I have always used PCs and have no plans to switch. I have always managed to get much more power for my money with a PC and have never had any problems with them. You will hear the debates about which is best, and some people can be pretty aggressive with their opinions on this. I don’t care either way. Find what works for you and fits your budget.
2. DAW (Digital Audio Workstation)
A DAW is effectively a multitrack player and recorder. You can play and record many channels of audio, and midi instruments simultaneously.
I use Cakewalk. It has 30+ years of development behind it and previously cost $499. You then had to pay a portion of that to upgrade. However, Cakewalk went out of business in recent years and just when it looked like it was going to be extinct, BandLab bought the assets in 2017 and started providing it as free software. Not only that they are continually updating it.
Make sure you check the minimum technical requirements for your chosen DAW as your computer needs that spec as a minimum requirement to run it. I would recommend getting the highest spec you can afford. You can upgrade later when you start to get serious about your music production.
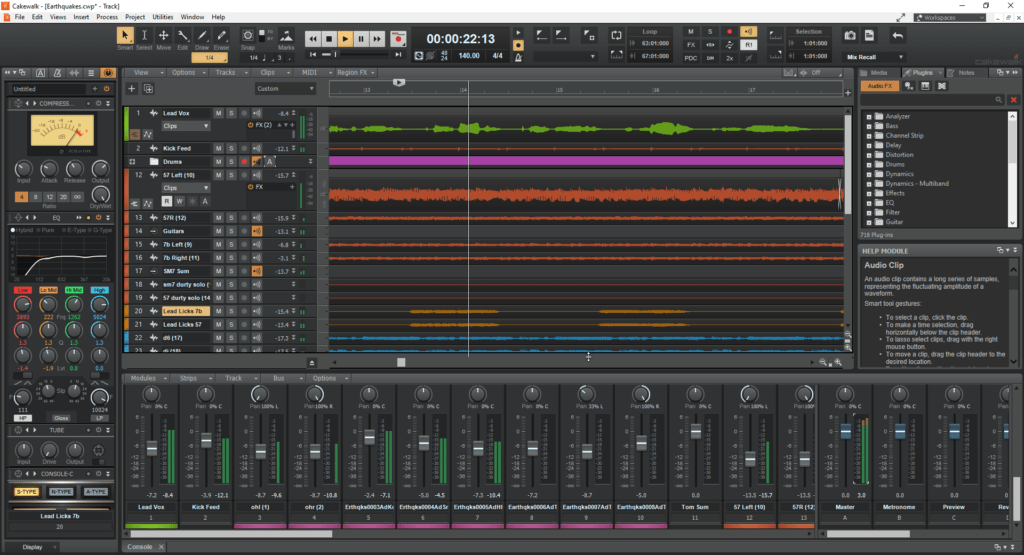
Cakewalk by Bandlab
Of course, you don’t have to use this one, there are others, free and paid for, but this is my DAW of choice and my recommendation. I have no affiliation with Bandlab, but you should definitely check them out as well because they have other services and apps that may be helpful in getting started.
Learning to use Cakewalk
Because it has been around for so long and has many fans, you can learn how to use it and solve nearly any problem using Google or YouTube.
Here are a couple of YouTubers I follow who do Cakewalk tutorials.
- Bongonzo makes beats in Cakewalk by Bandlab. He is young, energetic and inspiring. Shares great tutorials and walkthroughs.
- Creative Sauce has a belief that quality music is the core – not expensive gear. Mike provides great Cakewalk tutorials based on a wealth of experience.
There are many others, but I find these two guys especially helpful in relation to Cakewalk.
3. Audio Interface
Once you have your PC and DAW, you will need to be able to get sound in and out of it. Generally, most computers are pretty useless with professional audio and their soundcards are never up to the job. For this reason, you will need an external audio interface.
An audio interface is just a device that gets audio in and out of your computer. The cost will vary depending on your requirements.
For example, you could go with something like the Behringer UMC22 Computer Audio Interface or the more featured and higher quality Focusrite Scarlett 2i2 (my interface of choice with my Laptop setup).
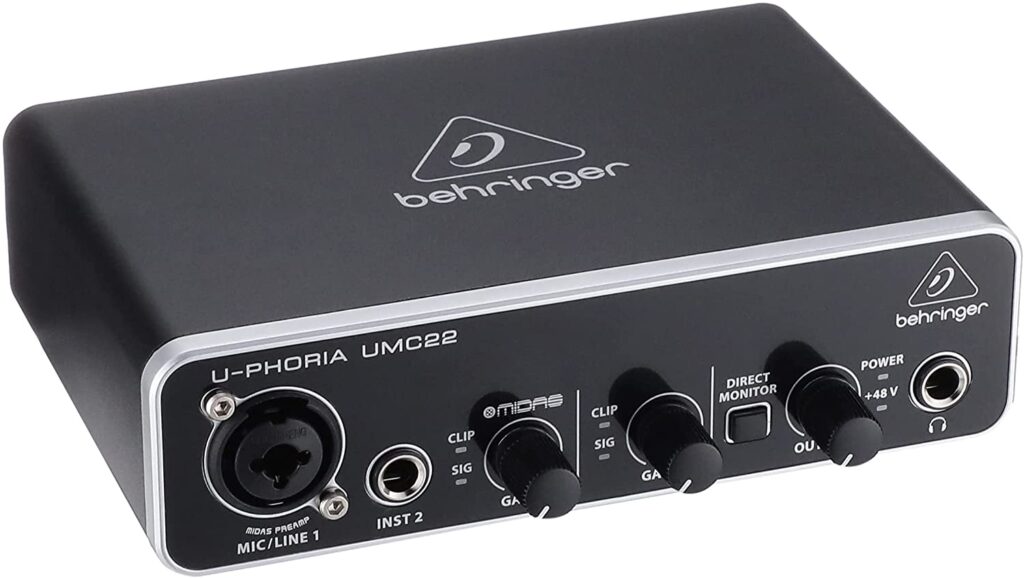
Behringer UMC22 Computer Audio Interface
£35 from Amazon at the time of writing.
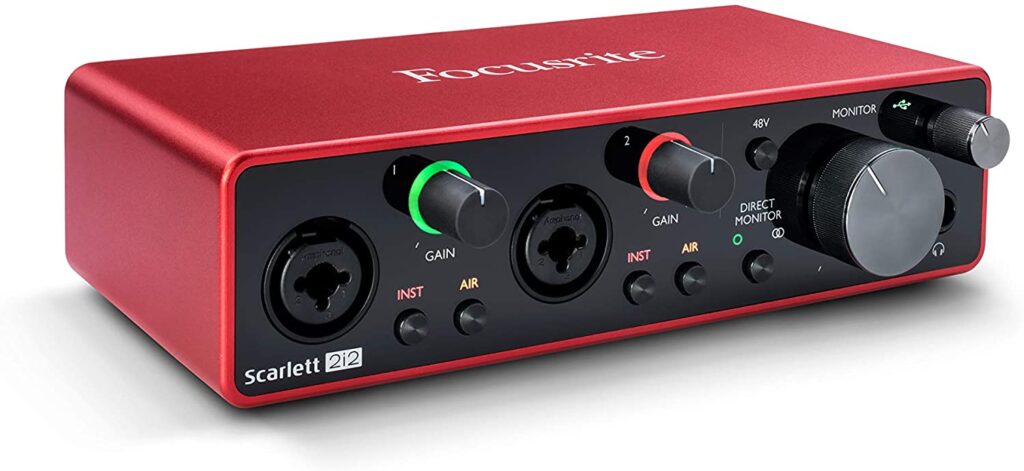
Focusrite Scarlett 2i2 3rd Gen USB Audio Interface
£157 from Amazon at the time of writing.
4. Midi Keyboard
Midi has been around longer than DAWs and PCs. It emerged in 1983 as a means for synthesisers and keyboards to be able to talk to each other and be recorded (sequenced). In the context of your DAW, all you need to understand is that it means you can connect a Midi Keyboard via USB and play note information into your DAW. In your DAW you will have virtual instruments that you will be able to play and record via the midi keyboard.
The midi keyboard you get depends on your budget and what you want to do. If you want to play a virtual Grand Piano you will need a keyboard with a good number of octaves, such as this M-Audio Keystation 88 (I use this on my home studio setup), but if you want something compact, perhaps the Alesis Q25 would work (this is the one I use on my mobile setup).

Alesis Q25 – MIDI Keyboard Controller
£55 from Amazon at the time of writing.
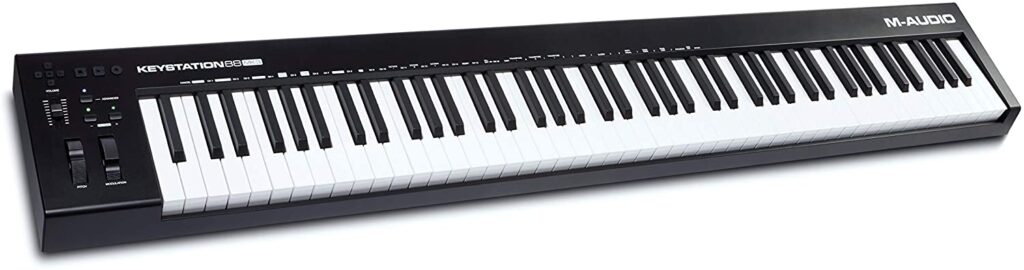
£173 from Amazon at the time of writing.
Midi keyboard controllers like these have no sounds of their own. They are simply a controller for virtual instruments, which I’ll cover later.
At this stage, you may be thinking that you don’t play the keyboard, however, you will soon pick up the basics. There are loads of YouTube tutorials on how to create chords and melodies. At a push, you can draw notes into your DAW using your mouse. Having a keyboard is very worthwhile in my opinion, and even if you don’t get one at the very start, you should look to invest in one and learn to play the basics of your compositions into your DAW.
I have only shown basic keyboard controllers with full-size keys (as that works best for me), however, you can get them with mini keys and drum pads. I would recommend looking at reviews online and think about how you will use the controller before deciding.
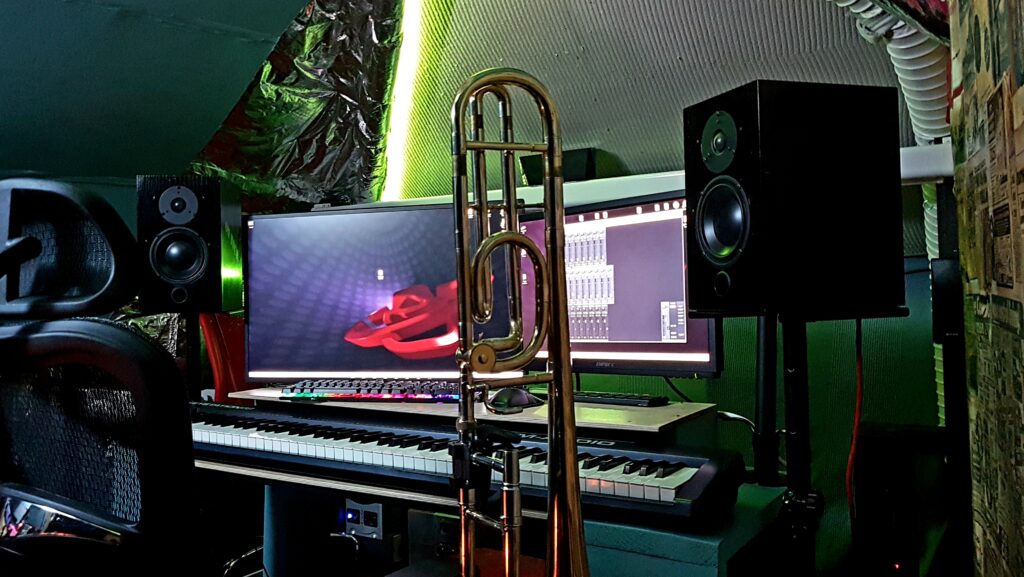
5. Monitoring
Once you have your computer, audio interface, DAW and midi controller you will need to hear what you are doing. My recommendation for this is headphones or studio monitors. Headphones are probably the most cost-effective option for starting out.
With any monitoring, you need to have as close to a flat sound as possible. This means that the speakers do not accentuate any part of the audio spectrum disproportionately. Hi-fi speakers are known to accentuate the bass and sometimes the treble too. In the context of making music, the sound we hear needs to be as flat and neutral as possible.
For example, mixing on speakers that have very little bass will mean that you turn up the bass in your mix to suit your speakers. However, this will sound bass-heavy on speakers that do have good bass. Likewise, if your speakers are treble-heavy, you may end up mixing the treble down in your mix, but this may result in a dull-sounding final mix on other speakers.
This is why we need to mix on speakers/headphones that alter the sound as little as possible. The theory is, the mix will then sound as good as possible on most speakers.
This is a complicated subject so you can research this more if you wish, but I am trying to get you started without blinding you with too much science.
I am not going to suggest getting any studio monitors (speakers) yet because this is a whole different conversation and level of cost. In addition to the cost and massive range of options, you would also have to take room acoustics into account.
I recommend getting started with reasonable cost pro headphones.
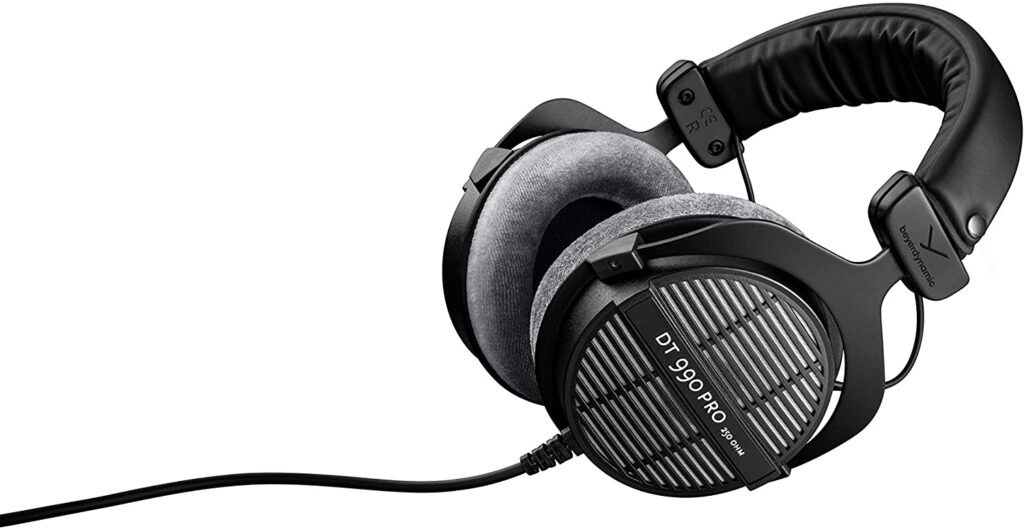
Beyerdynamic DT 990 PRO Studio Headphones
£108 from Amazon at the time of writing.
6. Microphone
If you want to record your own vocals or instrument, you will need an audio interface that has at least one microphone input. The ones covered above do. If you want to record an instrument, such as a guitar and sing at the same time, you may need more than one microphone input or an audio interface that has instrument inputs too.
Microphones can be massively expensive, however, like with most pro audio gear, there are some great affordable options out there too.
I don’t use microphones much these days, but I have used AKG and Rode mics for many years. They both have affordable options but AKG seems to be doing better on costs currently, so my recommendation would be the AKG P120 Studio Condenser.
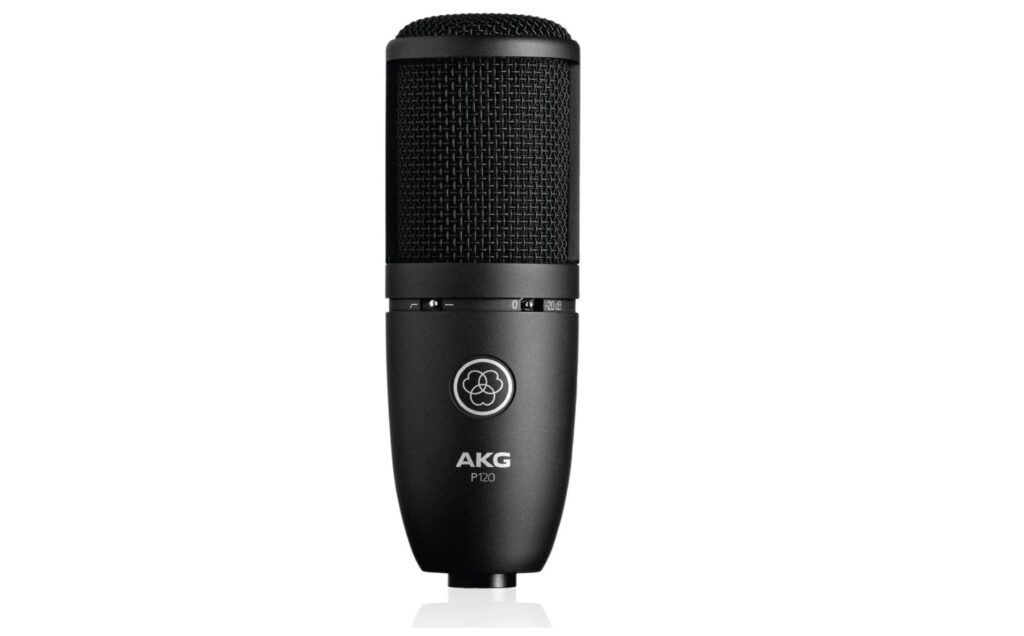
AKG P120 Studio Condenser Recording Microphone
£70 from Amazon at the time of writing.
These pro microphones need XLR connectors and run with 48v phantom power, so make sure your audio interface supports this.
You may want to invest in a stand and a pop shield. The pop shield will prevent plosives (Ps and Bs in speech or vocals) from ruining your recordings and the microphone stand will allow you to position the microphone at the best height for recording.
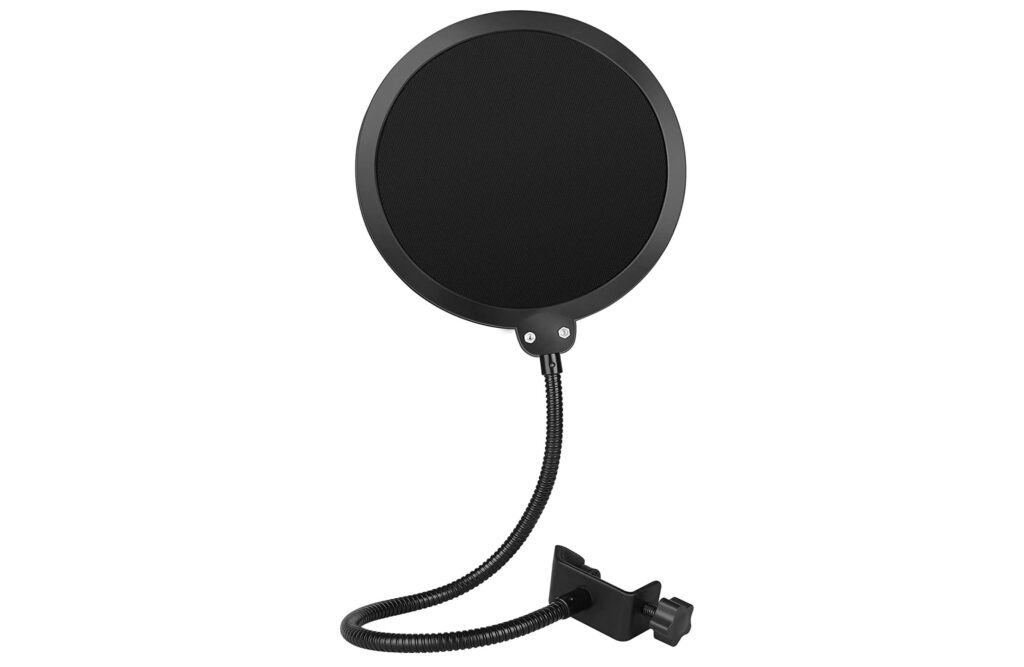
InnoGear Microphone Pop Filter, Enhanced Layers Shield with Flexible Gooseneck
£6.99 from Amazon at the time of writing.
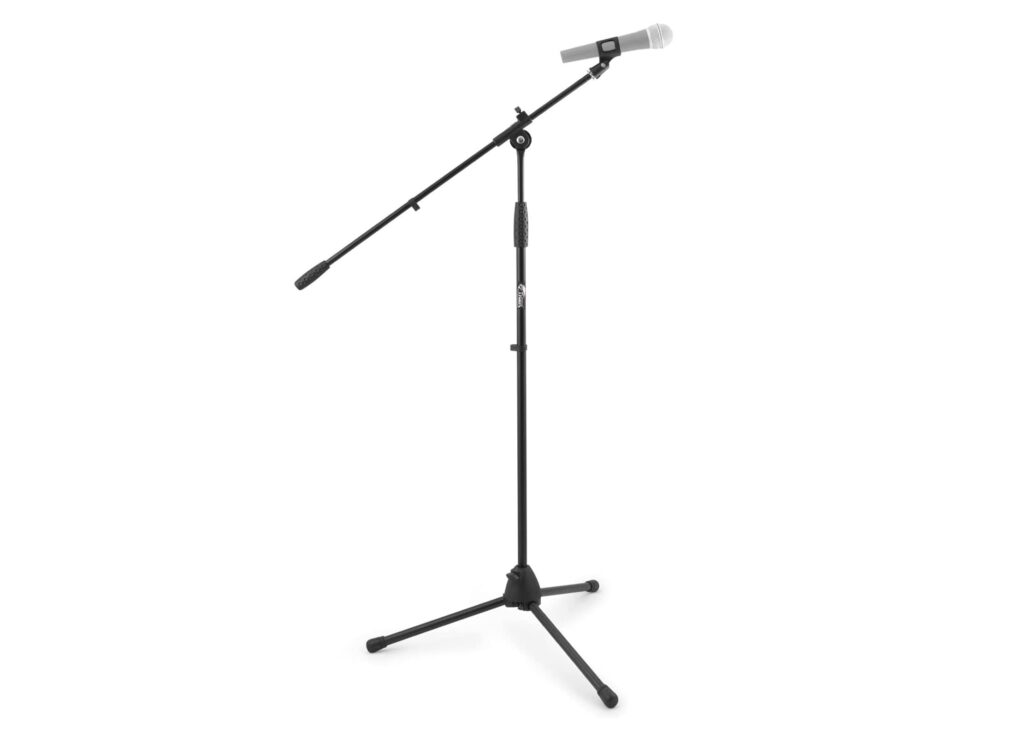
Tiger MCA68-BK Microphone Boom Stand
£22 from Amazon at the time of writing.
7. Instruments and Samples
Once you have your hardware and software organised, you will need some sounds so you can start making beats or composing music.
If you want to write for music libraries and media (like me) you may wish to concentrate on getting the best virtual instruments and sounds that you can. Whereas if you want to make your own songs or raps you might be more inclined to go down the sample route or beat leasing path.
Beat Leasing
For a relatively small fee (typically $20-$30) you can license a complete beat, record your own lyrics over it and release it as a song. You can lease complete beats from websites like:
This might be a good starting point if you are a rapper wanting to get some vocal recordings made quickly, but I encourage you to explore the world of making and producing your own beats. There are so many great YouTube Beat Making Tutorials to help with this.
In addition, there are lots of free virtual instruments that will work with your DAW and sound great in your music.
Making your own music
Create your own beats or compositions by following tutorials and using sample packs and virtual instruments (VSTs). Many VSTs are free or low cost. There are many places to get free samples, but not all free samples have been legally sourced. For that reason, I always license mine to avoid any future issues.
Here are two websites I use for samples and loops:
- Splice.com – This is a subscription where you get credits to download samples.
- Arcade by Output – This is a sample library with its own player.
You can also get an abundance of free virtual instruments that sound great in many genres of music.
Here are some that I use:
- Spitfire Audio BBC Orchestra Discovery – This is a great full orchestra for free or £49
- Spitfire LABS – Free software instruments made by musicians and sampling experts in London
- Ample Bass P Lite – Ample Bass P Lite aim to bring the Fender Precision Bass sound to your studio.
- Ample Percussion Cloudrum – Cloudrum is a unique and relaxing Steel Tongue Drum with a range of 3 octaves.
- Ample Guitar M Lite – Ample Guitar M Lite aim to bring a Martin D-41 Acoustic Guitar sound to your studio.
- Native Instruments Komplete Start – Produce and perform with over 2,000 studio-quality sounds – for free.
I use all of the above but there are many more, you just need to do a little research to find them and see if they work for you. You can create a finished song with free plugins alone.
8. Education and Work Ethic
The previous 7 points are all achievable and affordable but they are tools only. Time, patience, dedication and work is what creates a great composer, beat producer or songwriter.
You need to keep learning from others and keep developing your craft. I am still learning and developing and always will be.
This article is only the tip of the iceberg. Music production is a vast subject and you have as much chance at being successful at it as anyone else. These days everything is affordable and even free.
It is a cliche but so true… this is a journey, not a destination. Making your own music is something that you will always be learning and developing. Whether as a hobby or as a career, you will always be learning new tricks. It takes work and time, but if you are passionate about music you will enjoy the process and find it rewarding in so many ways. And who knows, you may become the next big name.
Conclusion
If you already have a computer, you just need to add a few affordable or free things to it. You can always add to it as you develop, and there are lots of second-hand bargains out there too.
Adding a music studio to your computer £198
- DAW – Free
- Audio Inferface £35
- MIDI Keyboard Controller £55
- Pro headphones £108
- Virtual Instruments £Free in many cases
Adding the ability to record vocals and live instruments £98.99
- Pro microphone £70
- Pop shield £6.99
- Mic Stand £22
For less than £300 you can turn your computer into a music studio. While I understand that you need a computer to start with and that not everybody has spare money, you can see that even buying new equipment is not massively expensive.
I had to spend £15,000 in the 1990s to set up my recording studio and even though it was so much more expensive, it was primitive compared to what software and computers can do now.
Thank you for reading. I hope you found this helpful. Now get started with your music-making journey.
Feel free to comment, share and include any free tools that you think others may benefit from.
Disclosure: I have not been paid to endorse any product, service or person mentioned here. However, some of the product links give me a small referral payment if you purchase via those links, but cost you nothing extra.
Here is a design you might like
As a side hustle, I sell my designs in the form of fun t-shirts and fun gift items on Redbubble. They give me 20% of any sales.